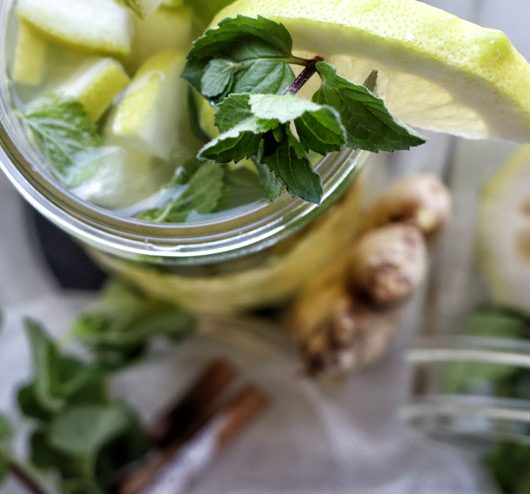
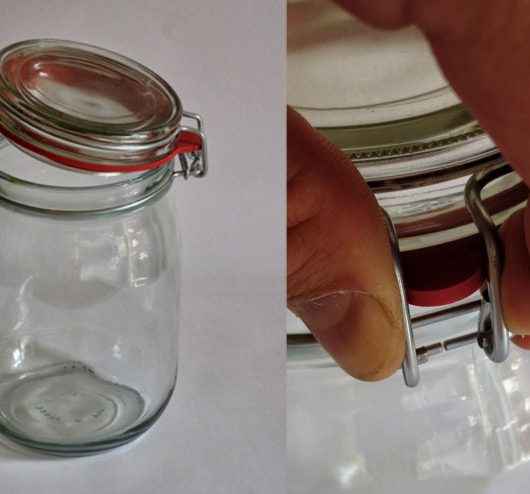
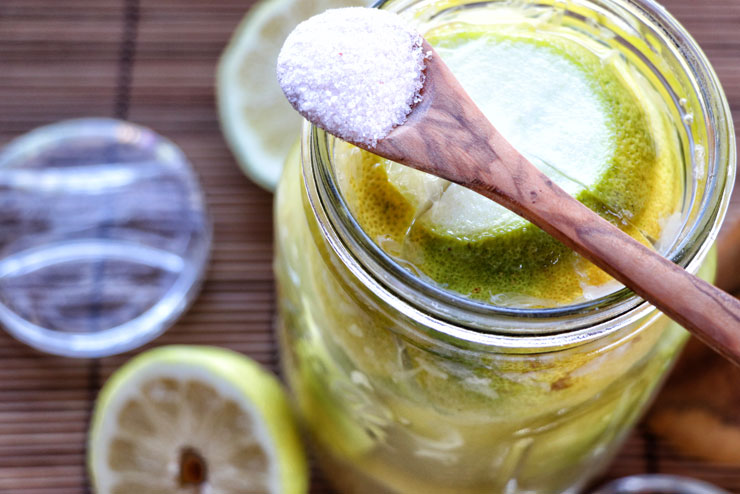
Milk Kefir

Kefir Cheesecake – a tasty cake recipe for milk kefir lovers

Kefir Cheesecake - a tasty cake recipe for all milk kefir lovers – finished cake

Dear Kefir Fans,

First of all, I would like to say thank you for all your daily kind calls and emails. Your positive feedback about my shop and blog is my daily motivation and inspiration to keep doing what I love everyday. For me it is great fun to make and create new Kefir and Kombucha recipes and to give you a daily inspiration for what awesome dishes you can prepare with your milk kefir,water kefir or kombucha.

I hope with my recipes I can reach people who are bored of making only the pure Water Kefir, Milk Kefir and Kombucha every day.

Buy organic milk kefir
Order your organic kefir now and start your own kefir production easy at home!

The more people start making their own food and start thinking about what they eat and want to learn more about it, the better it is. Even though, fermented products are only a small, but very important topic when it comes to nutrition. But now, let’s get back to what I was about to talk about.

During fermentation, milions of useful microorganisms as lactid acid bacteria, acetic acid bacteria and yeasts arise. For making those bacteria stay alive, it is important to not heat up the dishes you want to make. This is the reason why I only made Kefir&Kombucha recipes for tasty smoothies, salad dressings or other cold dishes until now.

A lot of people ask me for more recipes. On top of those requests are cakes.

Some costumors tell me that they don’t want to drink pure Kefir and that they want to make something different out of it in their kitchens. This is why I would like to give those of you one special recipe with my favorite cake. Even though, in the oven none or only a few bacterias survive, those recipes are really tasty. Moreover, in comparisson to normal milk, the little bacteria allready reduced some of the milksugar. 😉

And here comes my first Kefir baking recipe for you:

This is what you need for the Milk Kefir Cheesecake biscuit base:

These are the ingredients for the Milk Kefir Creme topping:

Do you have everything? This is how to make your Milk Kefir Cheesecake:

  1. Beat egg white until stiff and keep ready for using. Leave the yellow part oft he egg in an extra bowl for later
  2. Mix cane sugar, milk kefir, flour and baking powder together and lift the beaten egg white carefully underneath. It is important that your homemade kefir is viscous. For how you can make viscous kefir click here.homemade-kefir-cake
  3. Fill the dough in a ready prepared springform pan Ø 22cm and bake 10-15 min with 180°C. Let it cool down for a few hours afterwards
  4. Let the gelantin soak for a few sec
  5. Mix milk kefir, curd cheese, cane sugar, a grounded lemon peel, candied peel of orange, pudding powder and egg (even the yellow part oft the eggs from the biscuit base) togetherKefir_selber_machen_Rezepte
  6. Put the squeezed gelantin in a pot with some water and let it heat up while stiring it until all little pieces of gelantin disappear
  7. Add ¼ of curd cheese to the gelantinselfmade-kefir-cake-recipe
  8. Add the Curd Cheese, Gelantin mixture to the rest oft he Curd Cheesekefir-kuchen-selber-machen
  9. Put everthing in the fridge and let it cool down for half an hour while stiring it now and than. Put the mixture on the biscuit base (which is still in the springform pan) and spread it carefully
  10. leave everything in the fridge over night or a couple of hours
  11. Put some Blue Poppy Seed on top for decoration

Kefir Cheesecake - a tasty cake recipe for milk kefir lovers

Print Recipe
Serves: 6 Cooking Time: 30min

Ingredients

  • This is what you need for the tasty cheesecake biscuit base:
  • 130gr selfmade Milk Kefir made of real kefirgrains– in a thick consistency
  • 2 eggs
  • 45g cane sugar
  • 80g of spelled flour
  • 1/2 package of baking powder
  • These ingredients are for the selfmade milk kefir cream:
  • 130g selfmade milk kefir made of real Kefirgrains– in a thick consistency
  • 500g curd cheese
  • 1 package of pudding powder
  • 2 eggs
  • 110g cane sugar
  • 1 citrus
  • 12g candied peel of Orange
  • 8 leaves of gelantin or 2 packages of gelantin powder
  • 1 Tsp of blue poppy seed

Instructions

1

Just add all ingredients to the Vitamix and mix it at low speed. I use a Vitamix and I am very happy with it

2

Beat egg white until stiff and keep ready for using. Leave the yellow part oft he egg in an extra bowl for later

3

Mix Can Sugar, Milk Kefir, Flour and Baking Powder together and lift the beaten egg white carefully underneath

4

Fill the dough in a ready prepared springform pan Ø 22cm and bake 10-15 min with 180°C. Let it cool down for a few hours afterwards

5

Let the gelantin soak for a few minutes

6

Mix Milk Kefir, Curd Cheese, Sugar Cane, a grounded Lemon Peel, Candied Peel of Orange, Pudding Powder and Egg (even the yellow part oft he eggs from the biscuit base) together

7

Put the squeezed gelantin in a pot with some water and let it heat up while stiring it untill all little pieces of gelantin dissapear

8

Add ¼ of Curd Cheese to the Gelantin

9

Add the Curd Cheese, Gelantin mixture tot he rest oft he Curd Cheese

10

Put everthing in the fridge and let it cool down for half an hour while stiring it now and than. Put the mixture on the buscuit base (which is still in the springform pan) and spread it carefully

11

leave everything in the fridge over night or a couple of hours

12

Put some Blue Poppy Seed on top for decoration

13

Enjoy your Kefir Cake 🙂

selfmade-milk-kefir-cake

Enjoy your Kefir Cake!

I wish you a lot of fun by making this Kefir Cheesecake and I am very excited to hear your opinions about this delicious recipe.

I would love to see some comments about your favourite recipes with milk kefir and how you liked mine.

I am looking forward to see you again for my next recipes.

Petra

Watch also this video and many more regarding Kefir and Kombucha on my Youtube channel…

* This is an Affiliate-Link – Affiliate-Links are sponsored Links

Zutatenstube

Einfach klicken für all die leckeren Zutaten

No Comments

Leave a Reply